Step 4: Move Splash objects to surface
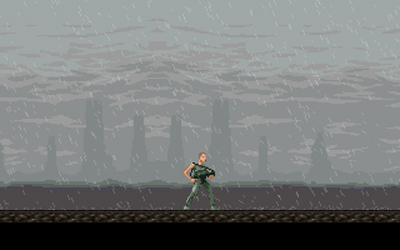
Run the application and you will notice that the rain is falling and looping correctly, but that each Splash object is not created on the ground surface, rather, below it.
Our rain falls at 10 pixels per frame. So, at the point when a Raindrop is overlapping the ground, it will be somewhere between 1 and 10 pixels below it, and this is where the Splash is created. We must use a fast loop to move it up to the surface.
- Always
 : Start loop "Find Ground" 10 times
- On loop "Find Ground"
-
 is overlapping a backdrop
 : Set Y position to Y( "
 " )-1
" )-1

The Splash object has only 1 animation, the Destroy animation. When an object has no animations other than a Destroy animation, it will be automatically destroyed once the animation is over.
It is impossible to tell, but each Splash is actually playing 1 of 4 different animations. As before, each is stored in a different direction and by setting multiple initial directions, MMF2 will selected one at random upon creating the object.

Well done, you have completed the tutorial.

6