OVERVIEW:
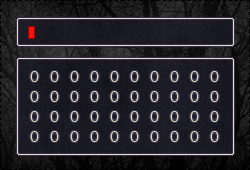
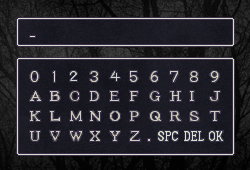
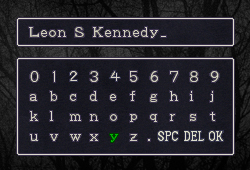
The left image shows the frame as it appears in the Level Editor. You can see the Blitter object and 40 instances of the Keypad Character object. The right image shows the frame as it appears at runtime.With a little bit of planning and a single line of code, each Keypad Character object is set to a different animation frame. This creates the final keypad.
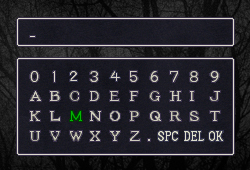
Each Keypad Character object has a unique ID value. If this value matches the Selection value (changed with the arrow keys), then that object is highlighted, by changing it's animation sequence.
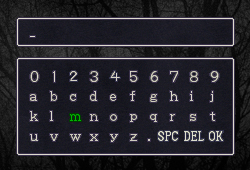
Pressing "Shift" toggles the animation direction of each Keypad Character object between left and right. The left direction contains the lowercase characters and the right contains the uppercase.
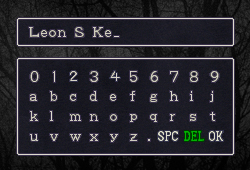
Pressing "Enter" adds the selected character to a string named Text. Unless "Del" is selected, in which case the last character is deleted. Using the same method as in the previous blitting tutorials, Text is constantly re-blitted on every frame.
ALTERABLE VALUES/STRINGS:

| Alterable Value | Default | Description |
|---|---|---|
| ID | 0 | The numeric position of the object in the keypad. |

| Alterable Value | Default | Description |
|---|---|---|
| Selection | 0 | The currently selected keypad character. |
| Alterable String | Default | Description |
|---|---|---|
| Text | "" | The text we are blitting. |
| CharSheet | "ABCDEFGHIJKLMNOPQRSTUVWXYZ abcdefghijklmnopqrstuvwxyz.0123456789" | Every possible Character. |
Note that
 , the Name Character object, is a separate object and has no alterable values/strings.
3